

Tuesday, June 26, 2012
Tuesday, April 24, 2012
Kids Greenland Paddle - Part 1
Until it's warm enough for epoxy, I can't really get much done on Sara's kayak. So, I decided to make her a greenland style paddle. There are a variety of resources available on the internet describing how to estimate sizing them, I used the Qajak USA recommendations as a starting point. Since Sara's boat will be relatively wide compared to her size, I made the overall length and loom length a couple of inches longer than the suggested anthropomorphic size.
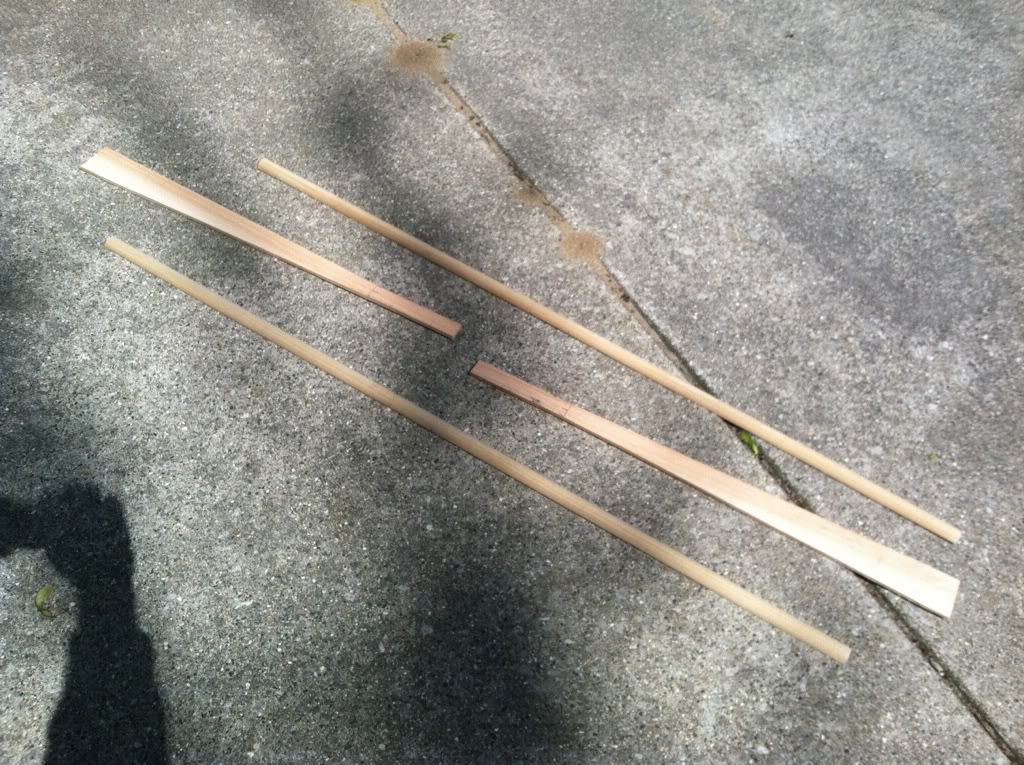
I'm too lazy to carve a paddle out of a single piece of wood and I'm too cheap to buy a bandsaw, so I laminate. I started with two 3/8" x 2 1/2" cedar boards which made the "blades" of the paddle. I then cut 3/8" out of the middle of a 1" dowel to make the loom and paddle blade reinforcement.
The next step will be to plane the blades to the correct shape and sand it smooth. Finally, I'll apply an oil finish.
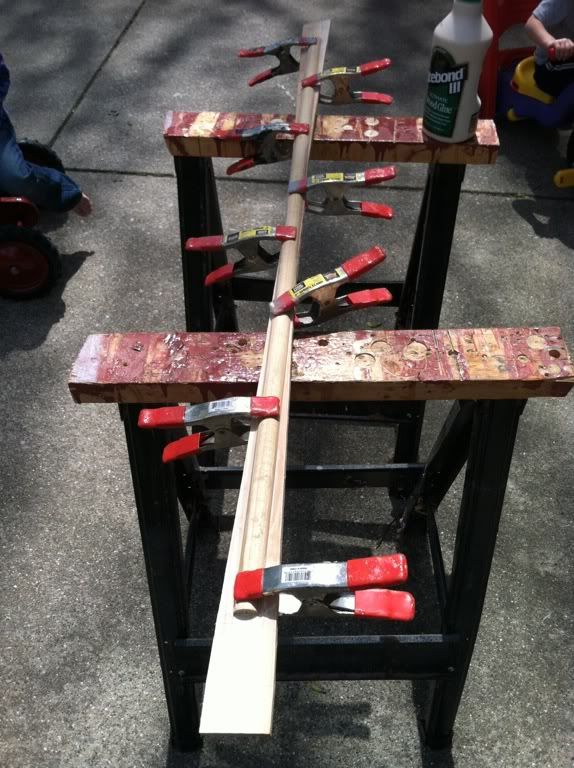
I'm too lazy to carve a paddle out of a single piece of wood and I'm too cheap to buy a bandsaw, so I laminate. I started with two 3/8" x 2 1/2" cedar boards which made the "blades" of the paddle. I then cut 3/8" out of the middle of a 1" dowel to make the loom and paddle blade reinforcement.
 |
| Major pieces |
 |
| Glued up |
Wednesday, April 18, 2012
New kayak!
I have decided to build another kayak. This one will be for my 5 year old daughter Sara.

It is called the "Io" and is designed by Nick Schade of Guillemot Kayaks. Nick offers the plans for free here, and has complete instructions on Instructables.com.
I am planning to use inexpensive luan plywood since this boat will not see hard use. The exterior will be sheathed 4oz fiberglass and I will use 2" tape for the interior seems. I think the seat will be a couple of layers of closed cell foam which should be sufficient for the sort of use this boat will see. I'm not sure about a paddle, but I may try and build a simple greenland style paddle or buy a small kids paddle.
Sara is very excited about this and has already name her boat "The Sara" ...very original :) She has also requested that it be painted red "like Grandpa's kayak."
 |
| In Grandpa's red kayak |
 |
| Checking out my SeaTour EXP... probably a little to big for her :) |
Sunday, April 15, 2012
1M Kayak Sail
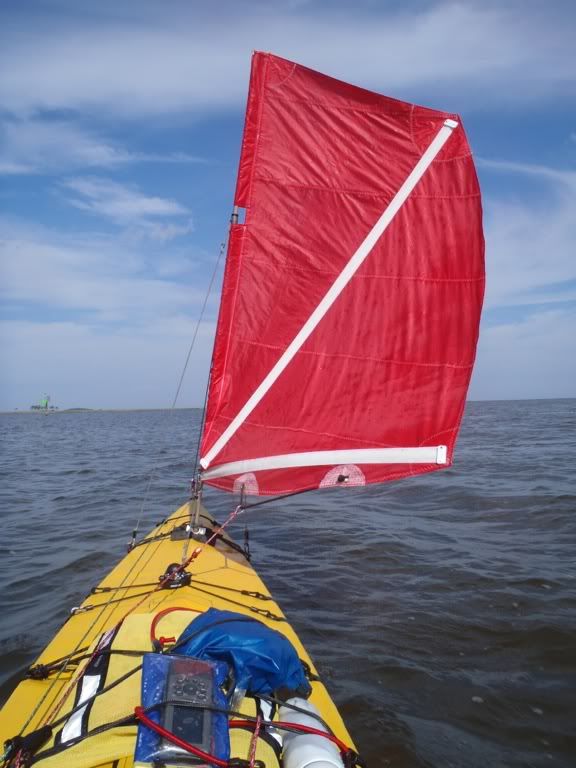
I was asked to provide some details of how I mounted the 1M sail on my folding kayak.
The base of the mast is in compression and on a standard composite kayak, the standard approach is to reinforce this area with extra fiberglass and/or carbon fiber. Obviously, on a folding kayak with a soft fabric skin, this is not an option. In order to provide a solid base on which to mount the sail, I built a custom fiberglass and carbon fiber "plate."
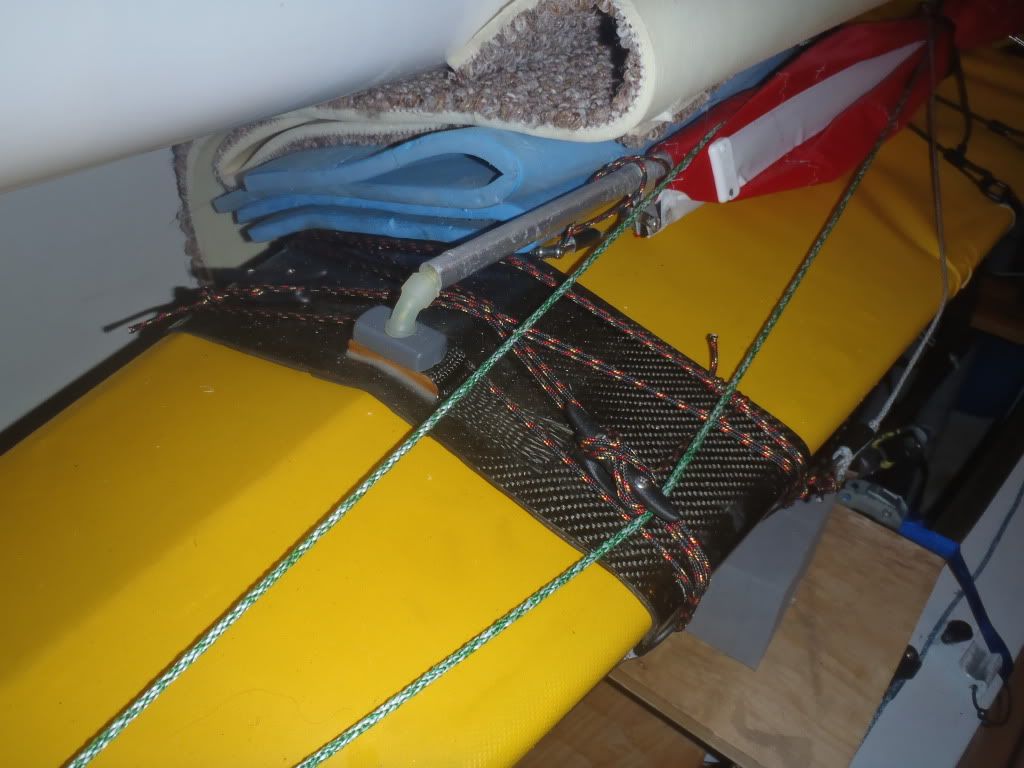
I chose to locate the plate at the second structural frame, so the mast load is shared by the plate, deckridge, and frame. Having chosen the location for the plate, I covered the boat with parchment paper (great mold release), laid the fiberglass and carbon over it, then just had to wait for everything to get hard. A day or so later, I trimmed the plate down to size and applied some varnish to protect the epoxy.
Next was a way to keep the plate in place. First, I added some adhesive backed 1/8" minicell foam to the bottom of the plate where it contacts the gunwales and deckridge. This provides some grip, and protection for the skin. Next, I added four D-rings, one at each corner of the plate.
I used these rings and the cleats mounted on the plate to lash the plate to the deck. This held the plate very securely, and there was no possibility of it moving or sliding around.
Now that the mounting plate was complete, I needed to add the rigging. The side stays were terminated to the rear D-rings using some small shackles. This allowed me to easily remove the stays for traveling. I added one more D-ring for the mainsheet block, and also used it to connect a rear stay.
I don't have any good detailed pictures of the whole setup, but this is the closest I have.
The mainsheet (red) d-ring is just in front of the compass and the forestay (green) is connected to the bow carrying handle. The mainsheet and forestay are cleated by the cockpit using simple plastic clam cleats, which can be seen in the lower left corner of the picture above. The cleats were connected to the boat using a small loop of line through the rear mounting hole of the cleat and then looped around the deck rigging. With tension on the lines, the cleats were held straight enough that the line would not pull out.
Overall, the mounting system has worked very well for me so far, and I am very happy with it. It is lightweight, and easy to remove from the kayak. The only permanent modifications to the kayak are the four d-rings for lashing the mast base, and the d-ring for the mainsheet / rear stay.
Feel free to leave comments, questions, or suggestions!
The base of the mast is in compression and on a standard composite kayak, the standard approach is to reinforce this area with extra fiberglass and/or carbon fiber. Obviously, on a folding kayak with a soft fabric skin, this is not an option. In order to provide a solid base on which to mount the sail, I built a custom fiberglass and carbon fiber "plate."
 |
| Carbon fiber mast base plate |
Next was a way to keep the plate in place. First, I added some adhesive backed 1/8" minicell foam to the bottom of the plate where it contacts the gunwales and deckridge. This provides some grip, and protection for the skin. Next, I added four D-rings, one at each corner of the plate.
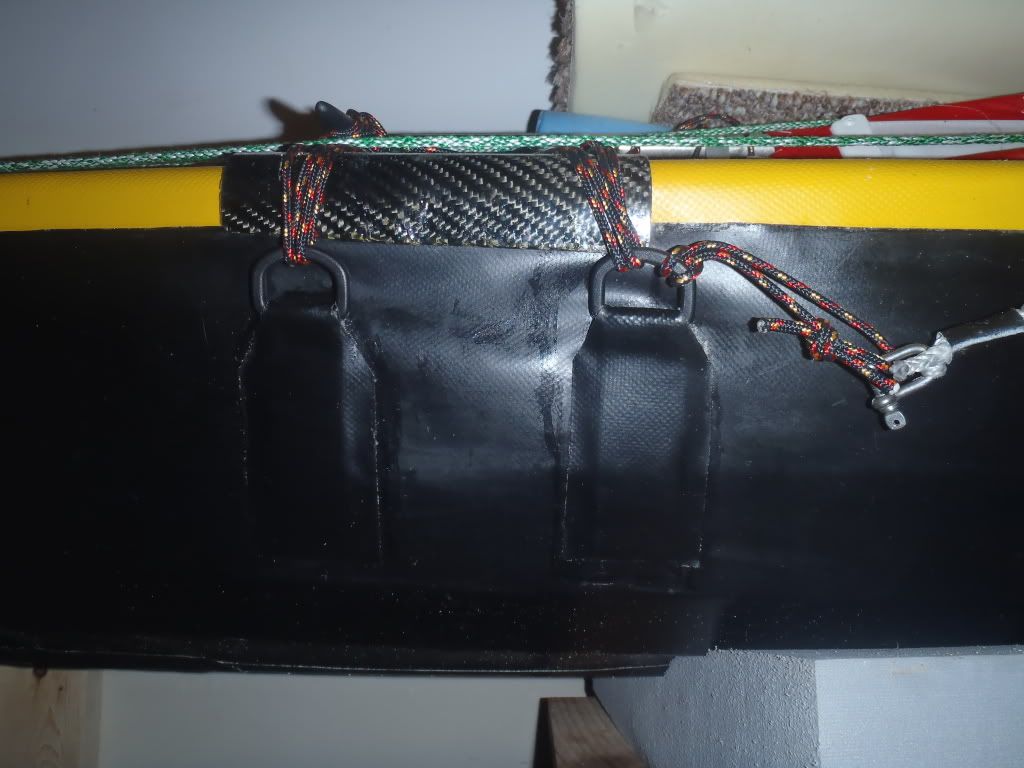 |
| Additional D-rings glued to the hull skin of the kayak. |
Now that the mounting plate was complete, I needed to add the rigging. The side stays were terminated to the rear D-rings using some small shackles. This allowed me to easily remove the stays for traveling. I added one more D-ring for the mainsheet block, and also used it to connect a rear stay.
I don't have any good detailed pictures of the whole setup, but this is the closest I have.
The mainsheet (red) d-ring is just in front of the compass and the forestay (green) is connected to the bow carrying handle. The mainsheet and forestay are cleated by the cockpit using simple plastic clam cleats, which can be seen in the lower left corner of the picture above. The cleats were connected to the boat using a small loop of line through the rear mounting hole of the cleat and then looped around the deck rigging. With tension on the lines, the cleats were held straight enough that the line would not pull out.
Overall, the mounting system has worked very well for me so far, and I am very happy with it. It is lightweight, and easy to remove from the kayak. The only permanent modifications to the kayak are the four d-rings for lashing the mast base, and the d-ring for the mainsheet / rear stay.
Feel free to leave comments, questions, or suggestions!
Thursday, April 5, 2012
EC2012 - The videos
You may have seen these before, but just in case...
Setup Day and Launch to Checkpoint 1:
Checkpoint 1 to Checkpoint 2:
Checkpoint 2 to Checkpoint 3:
Checkpoint 3 to Key Largo and Finish Party:
Setup Day and Launch to Checkpoint 1:
Checkpoint 1 to Checkpoint 2:
Checkpoint 2 to Checkpoint 3:
Checkpoint 3 to Key Largo and Finish Party:
Wednesday, April 4, 2012
EC2012 - Day 7
2012 Everglades Challenge
Friday, March 9, 2012
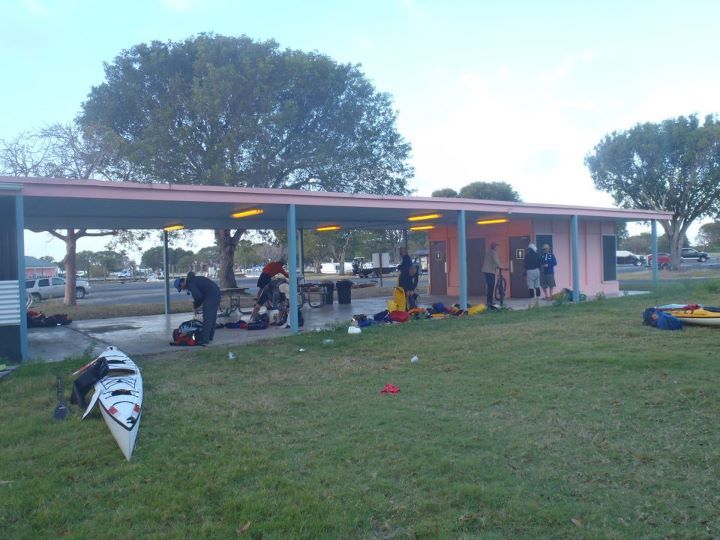
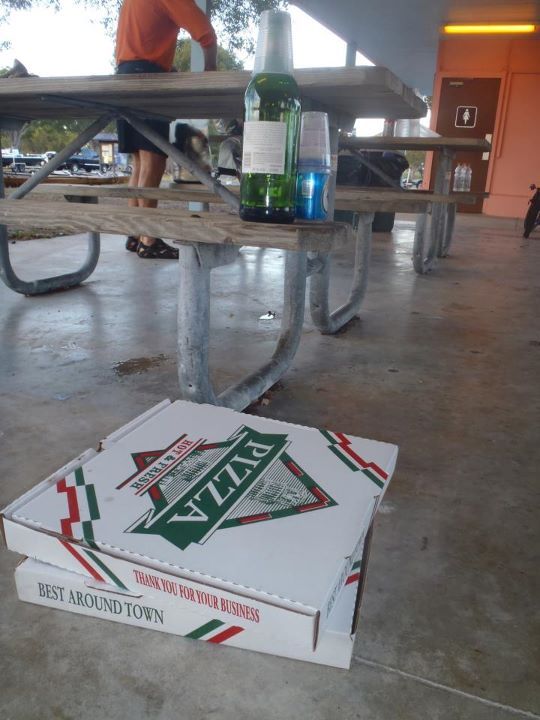
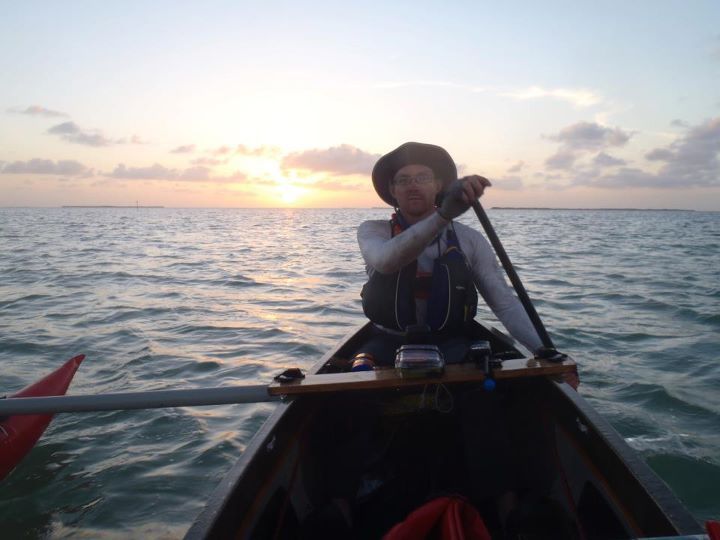
This morning, I slept in. Emily got up on time and watched a big group of kayakers leave for Key Largo. They had arrived the previous day and had a little "stealth party" in the fish cleaning station where we were "stealth" camping.
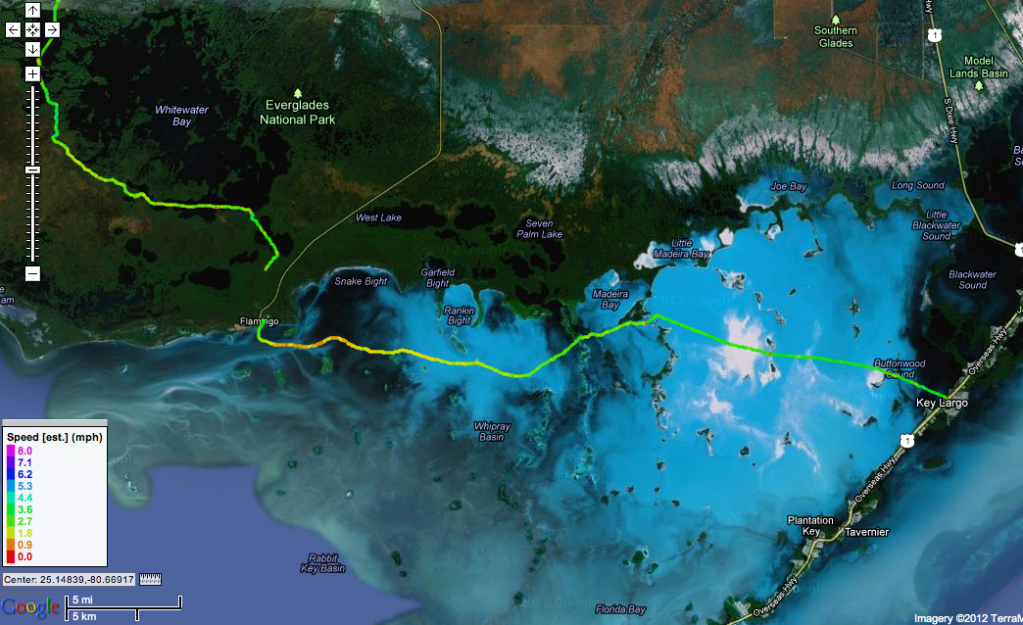
The six miles from Flamingo to Buoy Key were extremely difficult. The persistent east wind combined with the very shallow water of Florida Bay caused a significant amount of current which also slowed our progress. After what felt like forever, we paddled into the lee of Buoy Key and took a break.
Our next goal was Dump Keys, a pair of small islands with a small pass between them. These looked like they would be a great place to tie up if you needed to catch some sleep in the middle of Florida Bay.
At this point, we decided to take the northern route through Crocodile Dragover. As we paddled northeast towards Big Key, the sun set and the wind started to abate.
We again appreciated the hours of looking at Google Earth and drawing detailed routes as we were able to stay in the channel and avoid the extremely shallow mud and weeds that border it.
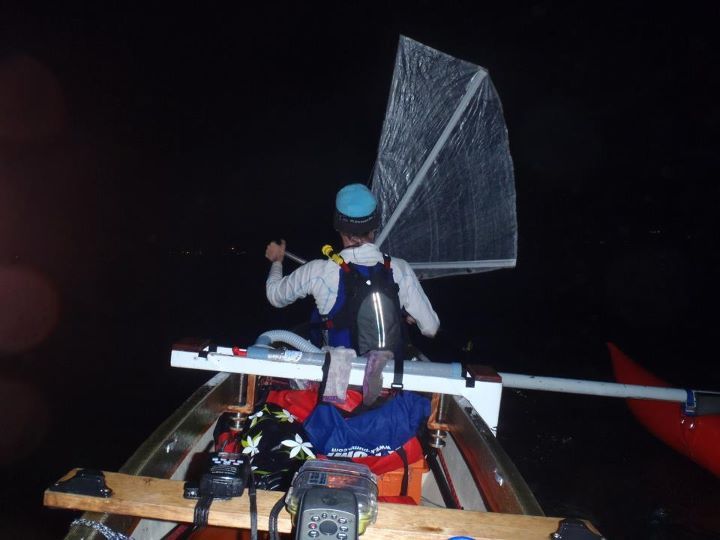
Once we made it out of Crocodile Dragover, it was a straight shot ESE to the finish. By now the wind was almost calm and our speed picked up. Our next break was in a small gap in a sand bank south of Park Key. From there we started to see the lights of the Keys. The highlight was a fireworks show we could see way off in the distance to the southwest. The lights steadily got closer and we took one last break at the north end of Shell Key. This was the home stretch, just under 3 miles to go. As an added bonus, the wind had shifted and we actually put our 1M downwind sail up for a little while.
We could soon see the individual buildings and lights of Key Largo! At this point, I started to wonder how accurate my waypoint for the finish was... I was a little worried about not being able to find Bay Cove in the dark. Fortunately, my waypoint was accurate, and we landed on the beach at 2:15AM on Saturday, March 10. We did it!
Friday, March 9, 2012
This morning, I slept in. Emily got up on time and watched a big group of kayakers leave for Key Largo. They had arrived the previous day and had a little "stealth party" in the fish cleaning station where we were "stealth" camping.
I finally roused myself out of the tent and Emily brought me coffee and a muffin from the marina store. We finished our breakfast, the got to the task of completing the portage. After a few trips, we had everything repacked on the saltwater side.
As had been the case the past few days, the wind was still 15 to 20 mph from the east. We of course had to paddle east. We paddled away from Flamingo and entered Tin Can channel.
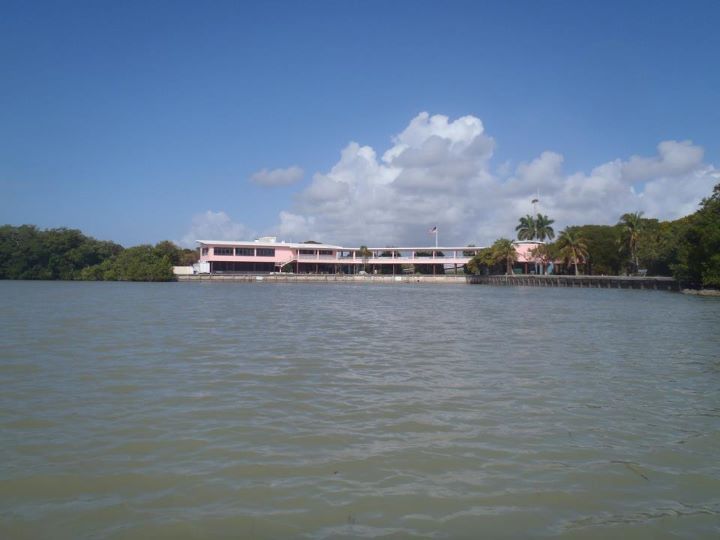 |
| Ranger Station at Flamingo |
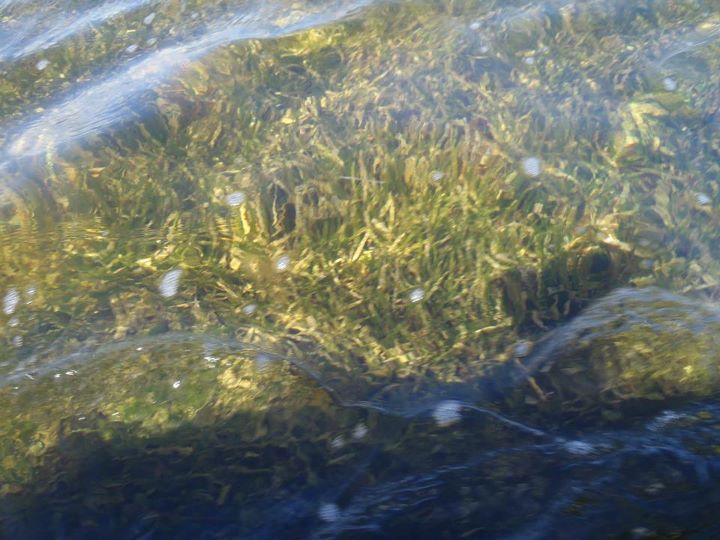 |
| Not much water in Florida Bay |
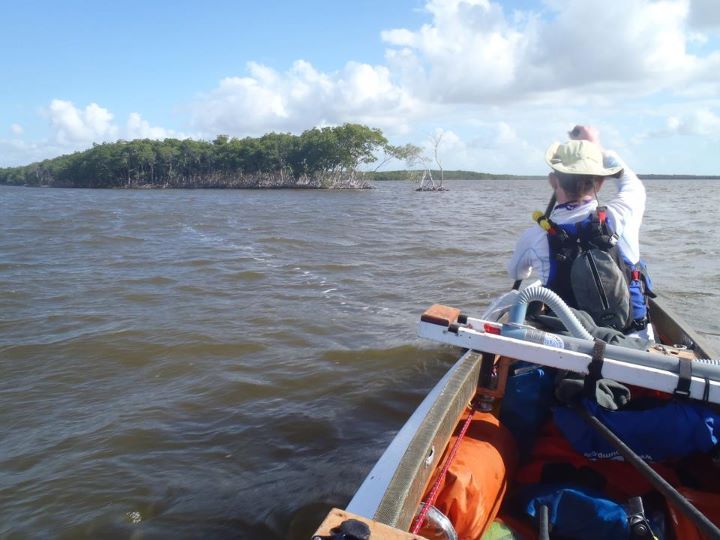
Our next goal was Dump Keys, a pair of small islands with a small pass between them. These looked like they would be a great place to tie up if you needed to catch some sleep in the middle of Florida Bay.
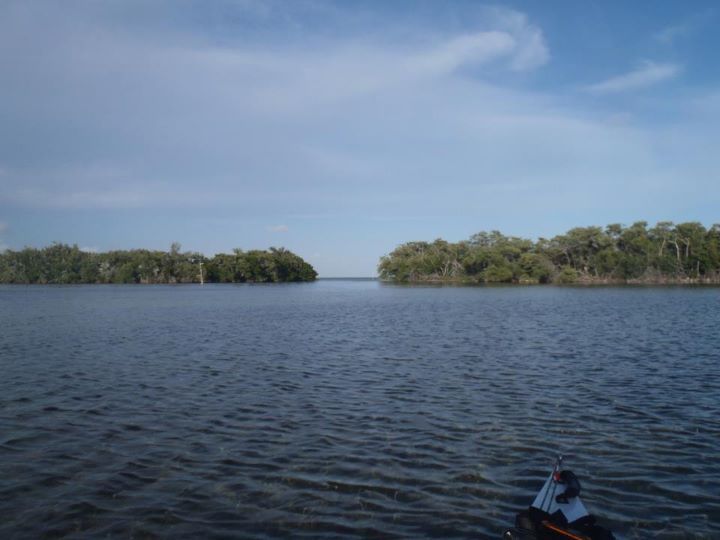 |
| Approaching Dump Keys |
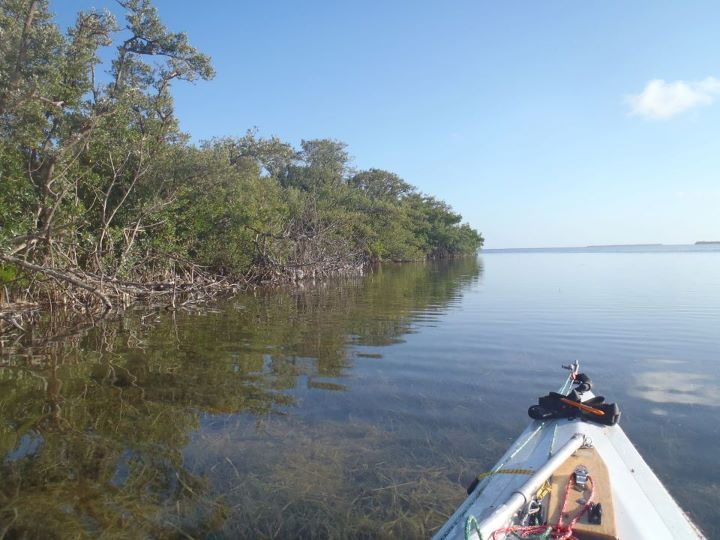 |
| In the lee of Dump Keys |
 |
| Sunset on Florida Bay |
Once we made it out of Crocodile Dragover, it was a straight shot ESE to the finish. By now the wind was almost calm and our speed picked up. Our next break was in a small gap in a sand bank south of Park Key. From there we started to see the lights of the Keys. The highlight was a fireworks show we could see way off in the distance to the southwest. The lights steadily got closer and we took one last break at the north end of Shell Key. This was the home stretch, just under 3 miles to go. As an added bonus, the wind had shifted and we actually put our 1M downwind sail up for a little while.
 |
| Final approach to Key Largo |
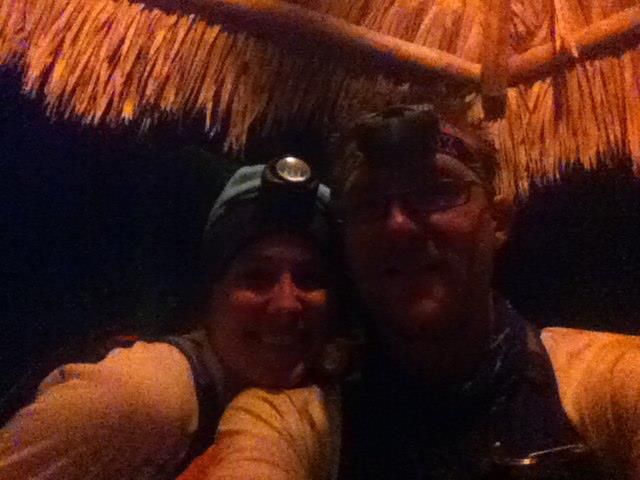 |
| FINISHED! |
Tuesday, April 3, 2012
EC2012 - Day 6
2012 Everglades Challenge
Thursday, March 8, 2012
After a short 5 hours of sleep, we had some breakfast and got the boat loaded up. This was a new and interesting experience since the tide was going out and the boat was about 4 feet below the level of the chickee. We got it done and began paddling up the Harney River. I have heard that if you time it right, it is possible to ride the rising tide up the Harney River, then make the turn and ride the falling tide down the Shark River... We did not have that experience :) As we fought the tide up the Harney River, we also were fighting a persistent east wind. We were hoping that when we turned into the Shark River we would be able to sail and have a break, but that only turned out to be half true. We did sail, but the tide was now coming up, which meant the current was against us.
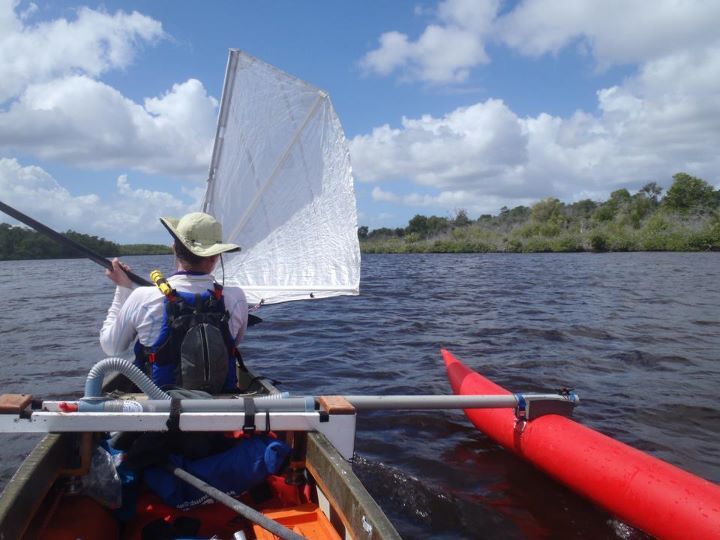
Instead of a break, we had to keep working to maintain forward progress. As we neared the end of the Shark River, we had to consider our next course. We could put our large sail rig back up and try to sail across Whitewater Bay, or continue paddling down the Joe River. We were both feeling pretty beaten down by the constant howling east wind, and we did not feel that we would be able to even paddle through the pass into Whitewater Bay. Instead, we headed SSW across Oyster Bay towards Joe River.
Joe River was a beautiful stretch of water and a fairly pleasant paddle.
At the end of Joe River is about a 4 mile stretch where we need to paddle due east across the bottom of Whitewater Bay. We were more than a little apprehensive about what this stretch of water would be like. Fortunately, by the time we got there, the wind had settled down significantly, and the waves were no issue either. We made the crossing without incident and paddled through Tarpon Creek into Coot Bay.
Following Coot Bay is the three mile long Buttonwood Canal. The canal was featureless, but protected from the wind and we made great time on our final stretch into CP3. We hit the checkpoint at about 11:30PM and while Emily checked us in and set up the tent, I unpacked our gear and pulled the boat up and out of the way. We ate a nice hot dinner then settled down for the night.

Thursday, March 8, 2012
After a short 5 hours of sleep, we had some breakfast and got the boat loaded up. This was a new and interesting experience since the tide was going out and the boat was about 4 feet below the level of the chickee. We got it done and began paddling up the Harney River. I have heard that if you time it right, it is possible to ride the rising tide up the Harney River, then make the turn and ride the falling tide down the Shark River... We did not have that experience :) As we fought the tide up the Harney River, we also were fighting a persistent east wind. We were hoping that when we turned into the Shark River we would be able to sail and have a break, but that only turned out to be half true. We did sail, but the tide was now coming up, which meant the current was against us.
 |
| Shark River |
 |
| Oyster Bay mangrove |
 |
| Taking a break on Joe River |
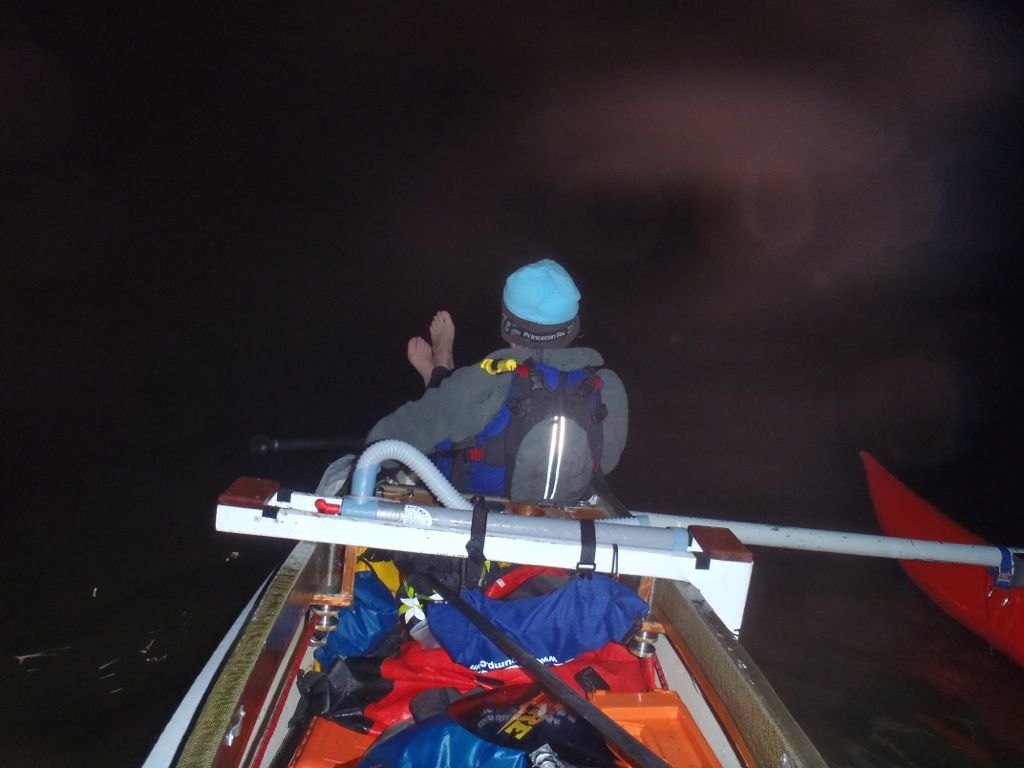 |
| Toes up in Coot Bay |
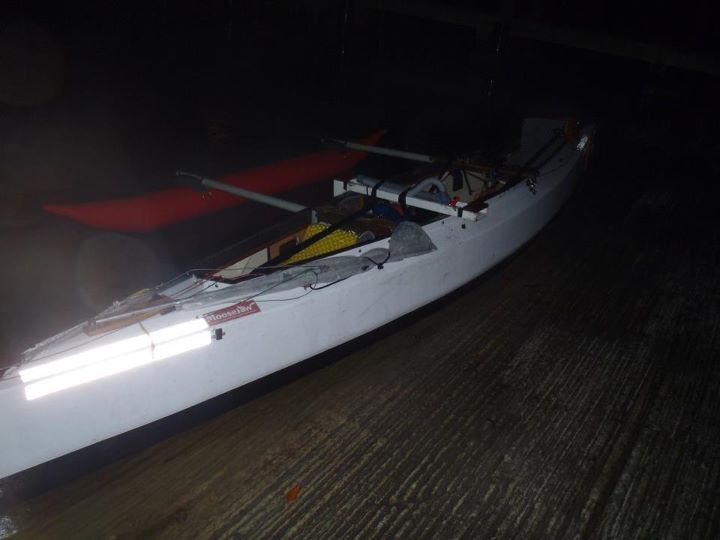 |
| At the boat ramp in Flamingo |
Subscribe to:
Posts (Atom)